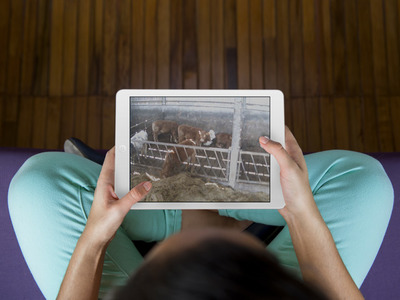
Calving Camera System
Setting up an IP Calving Camera
IP Calving Camera System
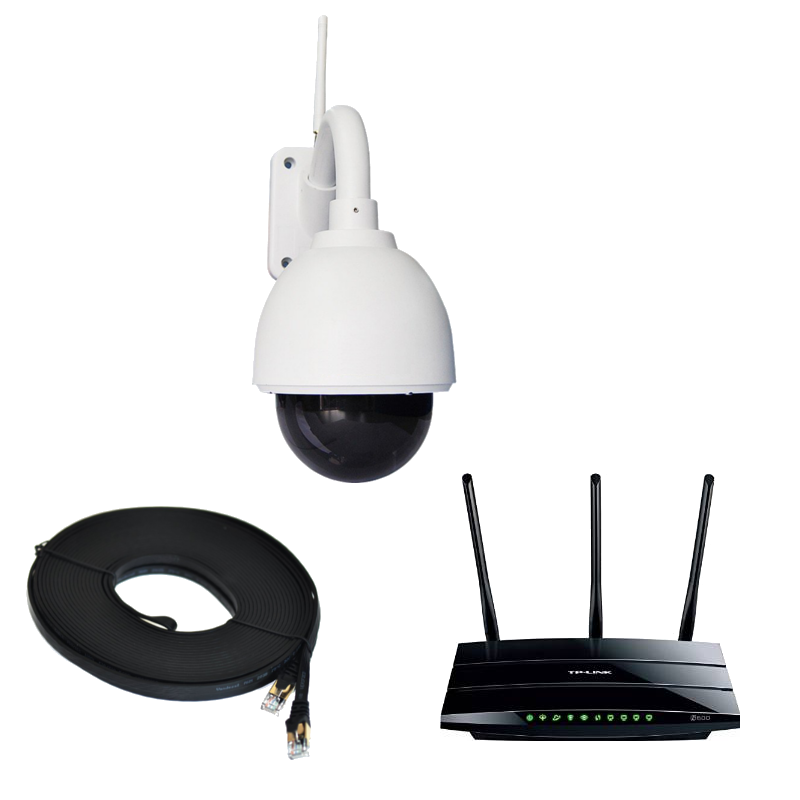
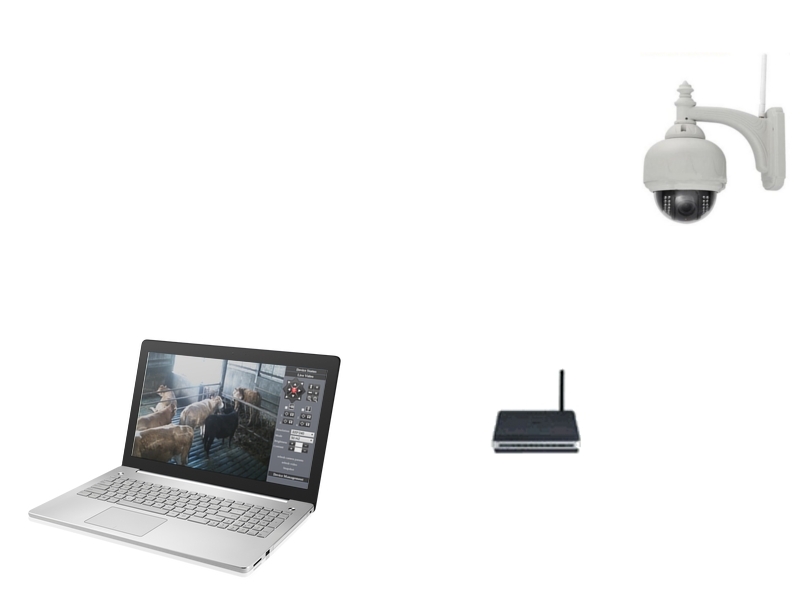
Equipment
- IP Camera
- Wifi Router
- RJ45 Cat6 Ethernet Cable
Many of the IP Cameras nowadays have a Wifi antenna included. With this there is no need for the Ethernet Cable. The IP Camera will connect to the Wifi Router through Wifi. You may already have a Wifi Router in your home that you use to connect up to the internet. If so, there may not be a need to purchase another one. The Wifi Router acts as a bridge between the IP Camera and you PC. If your PC has WIFI then it can wirelessly connect to the Router, or just use an Ethernet Cable to connect the two.
The IP camera will need to be in range of the Router. If the Router is a standard one then this range will not be very far, usually around 20-30 meters. Also, if the distance between the Shed, where the IP Camera will be fitted, and the house, where you want to view the video, is far away and is not possible to run a Ethernet Cable (greater 100 meters) you should consider transmit the video with wireless wifi.
Setup
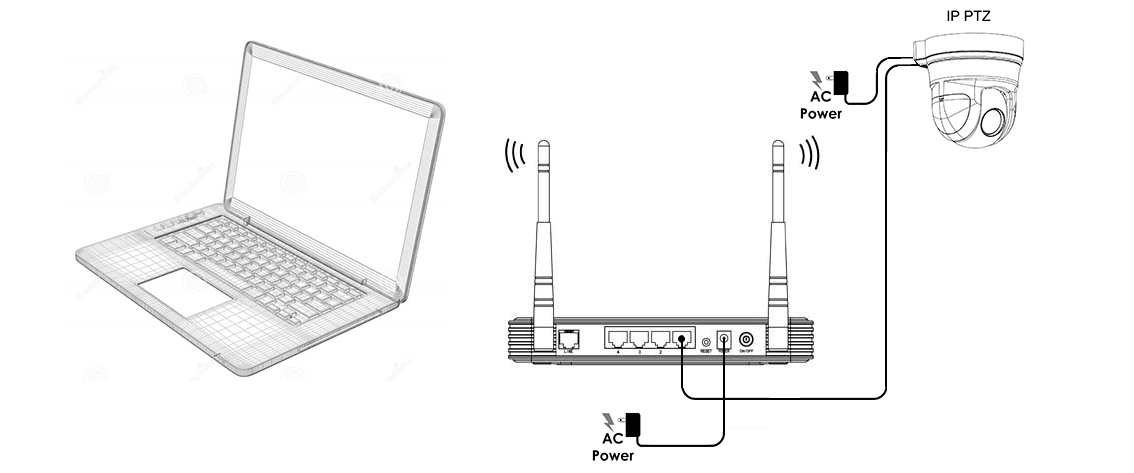
Using Ethernet Cables
Connect the IP Cameras directly into one of the Ethernet connections of the Wifi Router. The Router can be connected directly, in most cases, using wireless to your laptop or PC. If the IP Camera has a Wifi antenna then there is no need for any cables. The IP Camera and Router will automatically connect together through wireless. A Wireless IP Camera makes the setup of this system trivial. If you are using Ethernet Cables you can skip the next Using Wifi step and go straight to the Router Settings section.
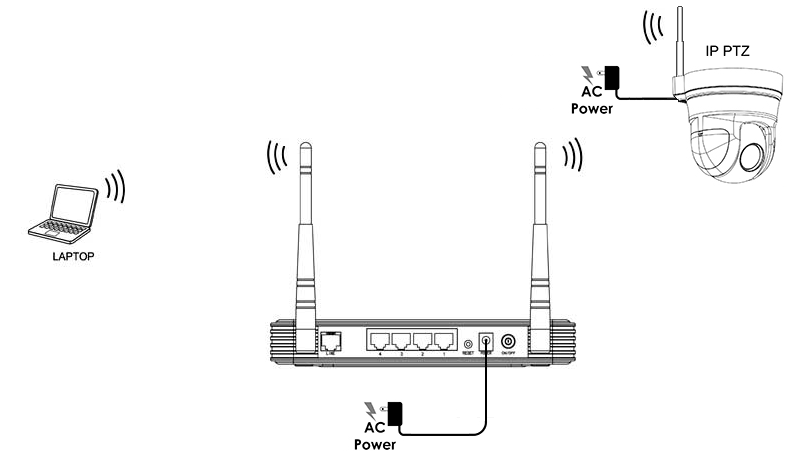
Using Wifi
Before the IP Camera can connect to the Router wirelessly you may need to configure the IP Camera to allow it to connect. This is needed if the Router needs a Security WPA key to connect. This step may vary from different IP Camera manufacturers, so check the instructions given first.
It’s a good idea to do this before the IP Camera is installed and fitted to the shed as you will have better access to connections on the IP Camera and it will make setting things up easier.
Usually you first need to install a small program on your PC and plug the camera directly into the PC using the Ethernet cable provided. Start the program and it will connect to the IP Camera. From there, find the Network Settings, or Wireless Settings. There should be a button to scan for other Network devices. If the Router is in range then it should show up on the results list. Enter your WPA key, if needed, and connect. The IP Camera should now connect to the Router using Wifi.
Router Settings
Log into your Router admin page. There will be a page that will show you all the devices that are connected. If the IP camera and the Router are communicating correctly then you should see the IP Camera listed. It should contain an IP address (for example: 192.168.1.2). This IP address is given to the camera by the router when they have connected. The IP address could be different every time the camera or router is restarted. If you want you can set the IP address on the camera to be static so that it will always be the same. This is sometimes a better option as you use this IP address to log into the camera.
Copy this IP address into your browser top URL field and press enter. This should connect to the IP Camera landing page. From there you should be able to see the Video stream from the Camera.
If you can’t see the IP Camera listed in the Router LAN list then check that the Subnet Mask is the same on both the Camera and the Router. Its usually set to 255.255.255.0.
Advantages
- Resolution - Good Quality Picture
- Flexibility - PTZ cameras can be controlled from PC
- Security - Passwords can be added to stop unwanted guests
- Scalability - Many IP camera can be added at any time
Disadvantages
- Can be complex to set up if you’re not used to ethernet devices
- IP Cameras are more expensive
More Information
An Internet Protocol Camera, or IP Camera, is nowadays very popular for surveillance. IP Cameras differ from Closed Circuit Television (CCTV) Cameras in that they send and receive data. The IP Camera and the PC can communicate with each other back and forth. This allows the Camera to be controlled remotely, for configuring the Camera and changing settings to controlling the viewing angle of the Camera, if it able to Pan, Tilt, and Zoom (PTZ). Allowing the user to change what the Camera is looking at makes the Camera a lot more useful when surveilling large areas with a single camera.
There are many different types of IP Cameras that you can buy and some can be very expensive. They can be expensive as they have high quality pictures, they can zoom into very small area. My advice here is to look into where and how you are going to use the camera. If you have a medium sized shed or you only want to surveil a small section (a small calving pen) then a cheap IP camera will be sufficient and will work well. If you later want to view a larger area then you can upgrade the camera only to a more expensive and high quality one.
The great thing about having an IP Camera is that it is compatible with a lot of different devices. For example, Smart Phones. There are lots of Apps that can be download so that you can connect your phone to the IP Camera. This is very useful for you to check your cows anytime you want to.